Entry Column management is located under Management-->Entry Columns (see
figure 20.1).
Entry Columns include the selectable items within the dropdown selections located
in users' timesheets, expense sheets, and custom entry sheets. They allow you to manage the
selectable
values for object dropdowns such as Activities, Pay Types, Bill Types, Expense Codes,
Source, etc.
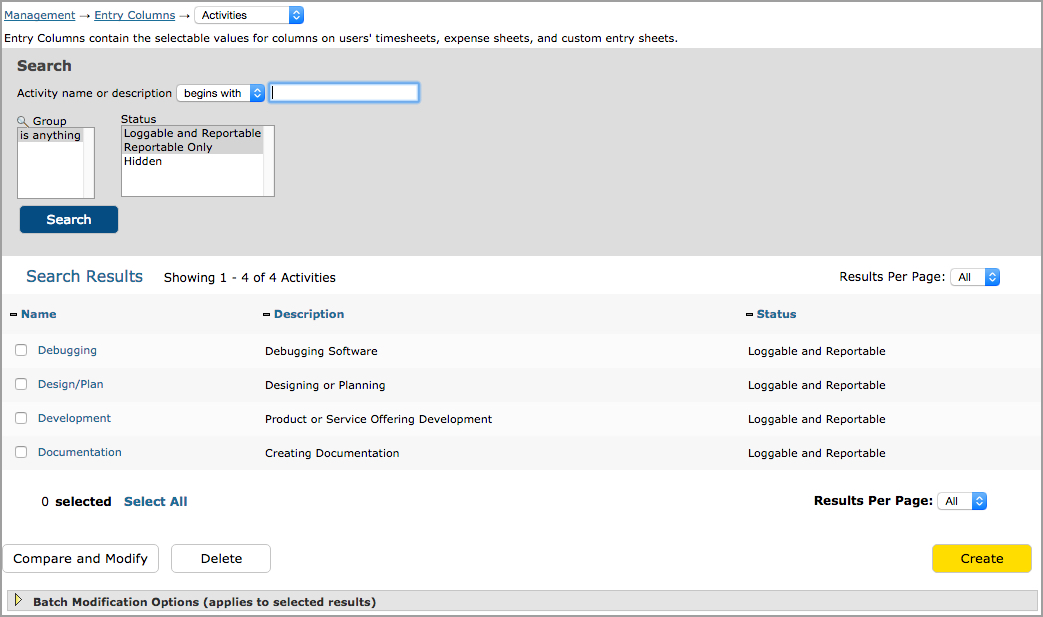
Figure 20.1. Entry Columns default page
To create a new item, you must select the create option for the Entry Column type from the
navigation menu under Management-->Entry Columns (see figure 20.1). You will be directed to
the Entry Column Creation screen for the selected column (see figure 20.3).
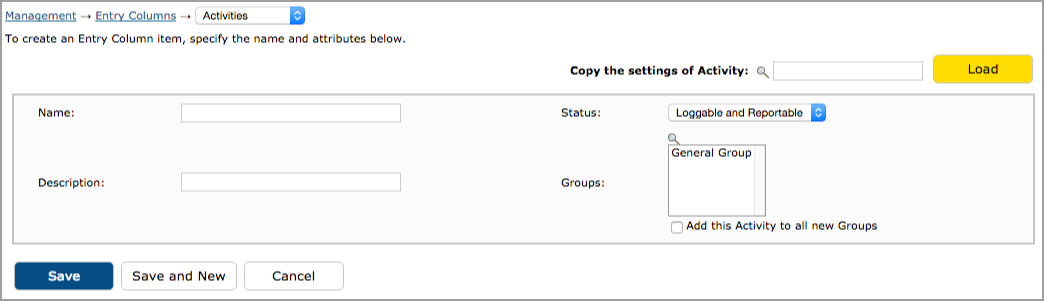
Figure 20.3. Entry Columns creation
Specify the name, description, and status of the item. 'Loggable and
Reportable' indicates that the item is fully active (i.e. users can log time
to this item and all time logged to this item can be reported on). 'Reportable
Only' indicates that the item can no longer have time logged against it, but
that any historical time, expense, or custom entries already logged will be displayed
in reports. 'Hidden' indicates that the item can neither be logged against nor
can it be reported upon. Next, select the Groups that will have access to the
item when those users in the Groups log time, expense, or custom entries to
the item. Furthermore, you may select whether the item will be
automatically added to new Groups that are created. You may also specify values
for any Custom Fields that the Administrator has setup for the items.
When finished, click the 'Save' button.
Alternatively, on the Entry Column Creation screen you can copy the settings
of another item by selecting an item and then clicking the Load
button located at the top right corner (see figure 20.4). This will prepopulate
that item's settings (with the exception of MS Project and QuickBooks Custom
Fields) which you can use as a template
of sorts. After clicking the Load button, you can modify the attributes that
will be unique to the new item. When finished selecting and specifying attributes
for the new item, you can simply click the Save button.

Figure 20.4. Copy Entry Column Items
To modify existing items, you must first specify the search criteria
for the item that you wish to modify in the main management
screen (see figure 20.1). From the search results you can click the
name of the item to modify. You also have a few Batch Modification options
which allow you to make changes to multiple items more efficiently. For
example, you can select multiple items from the search results section
and assign all the selected items to Groups in the Batch Modifications
section. Similarly, you can select multiple items from the search results
section and change the status of the selected items from the Batch Modifications
section.
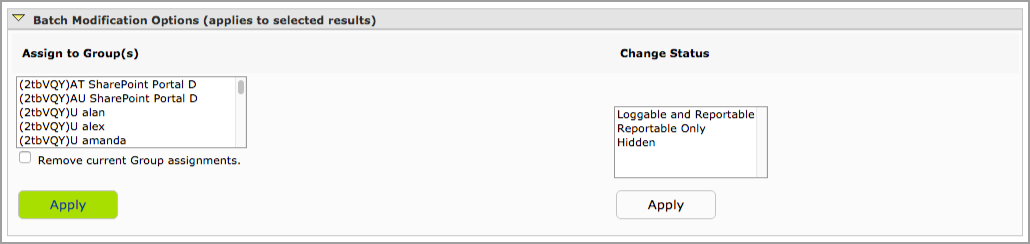
Figure 20.5. Entry Column batch modification
To delete an item, check the item to delete from the search results
and click the Delete button (see figure 20.1).