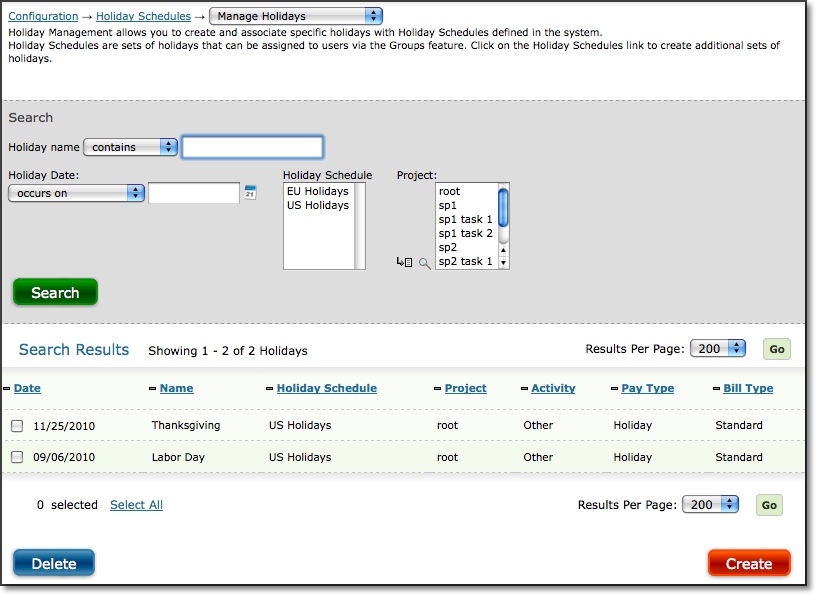
Figure 32.1. Holiday Management main page
Holiday Management |
Help Contents |
Holiday Management is located under Configuration-->Holiday Schedules-->Manage Holidays
(see figure 32.1). Schedules that may include different lists of holidays are created under
Holiday Schedules. Individual holiday entries with a designated schedule(s) and hours details
are created under Holiday Management. Holiday Schedules can then be assigned to users via
Groups.
Figure 32.1. Holiday Management main page
To create a new holiday, click the Create button in the lower right corner of the screen. This
will direct you to the Holiday Creation screen where you can specify the date, schedule, hours,
name and other time entry details (see figure 32.2).

Figure 32.2. Holiday Creation
The Holiday Schedule field will determine which schedule(s) the new holiday will be added to. The Holiday Name field will populate the Comment (or renamed text) field on the users' Time Entry screens. Time Entry columns on this screen will respect Project Dependencies if any exist; however, there is no filtering of the selection lists for Group accessibility because any given holiday can be assigned to more than one Group. When finished selecting the new holiday details, click the Save button or the Save and New button if creating more than one holiday entry.
To delete a holiday, select the entry to delete from the search results and click the Delete button (see figure 32.1).
When assigned to a user's Group, holiday entries are loaded in the Time Entry screen when the user first views the period. While the entry is not in an approved state, it will continue to be reloaded if the user changes the hours or details of the entry. As a result, a user cannot remove a holiday entry assigned via Groups.
Holiday Types is located under Configuration-->Holiday Schedules-->Manage Holiday Schedules
(see figure 32.3). Holiday Schedules contain lists of holidays that can be assigned to Groups
for automatic loading of holidays in users' Time Entry screens.
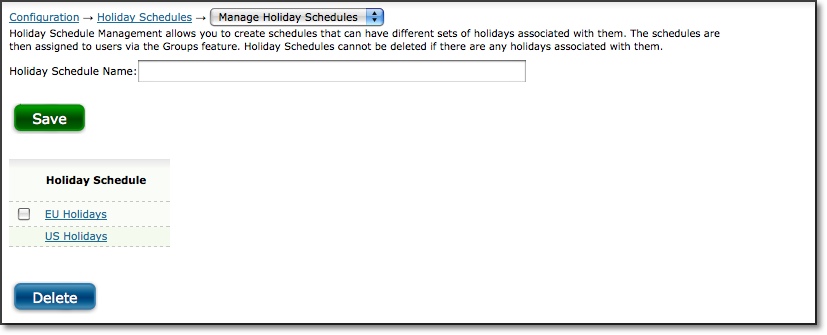
Figure 32.3. Holiday Schedules main page
To create a new Holiday Schedule, enter a name in the text box at the top of the page and click on the Save button. The new Schedule will appear in the Holiday Schedule list below and the Holiday Schedule select list on the Holiday Creation page. There is a limit of 15 Holiday Schedules per Journyx installation.
To modify the name of an existing Holiday Schedule, click on the name of the Holiday Schedule to modify.
To delete a Holiday Schedule, select the Holiday Schedule to delete and click the Delete button.