Timekeeping, Expense and Custom Entry on Behalf of Others
|
Help Contents |
Users of the system who have been given the Timekeeper Role will have
the ability to create time records for other users, which is also known
as Timekeeping. Similarly, users who have been given the Expense keeping
or Custom Entry keeping roles will have the ability to create and edit
expense and custom records for other users, respectively.
Timekeeping
functionality is located under Management-->Users-->Timekeeping (see figure
15.1). Here you will be able to manage other users' time, expenses, and custom entries,
if given that Role. You must first search for the users that you would like to
manage. Specify the search criteria for the users and click the Search button.
The search results will be displayed below the criteria.
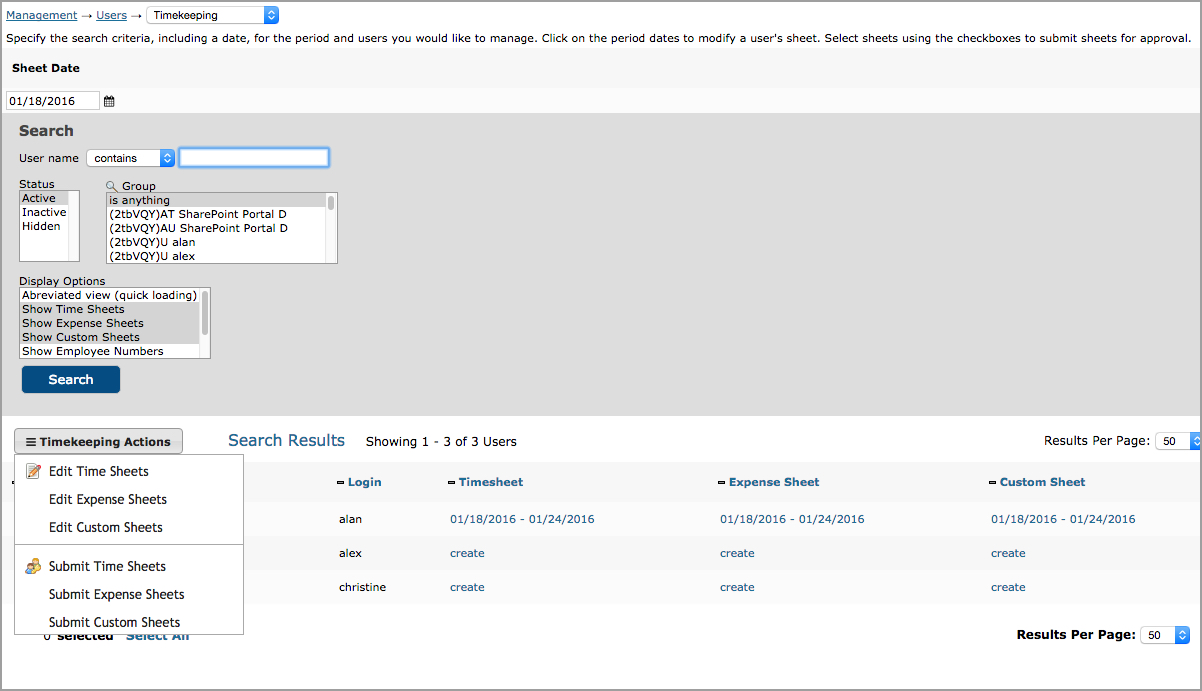
Figure 15.1. Timekeeping, Expense Keeping, and Custom Entry
Keeping
The main timekeeping screen provides links to each individual's time, expense or custom
entry screen. However, you also have the option to track time, expenses or custom entries for
several users in a single entry screen. The crew-based entry screen allows the timekeeper to
create, edit and delete entries for multiple users at once. The same functionality is available
for expense and custom entry keeping as well. You can access the crew-based timekeeping screen by
selecting more than one user from the search results and choosing one of the Edit options from
the hover menu in the upper left corner of the search area.
The main difference between an individual user's entry screen and a crew-based entry screen is the
inclusion of a user select list that allows you to choose the person or group of people for whom you are adding
time, expenses or custom entries. The user select list will default to the option to track entries for all users selected on the previous screen. After you have added an entry for a user or a group of users, you will also see
all those users' entry details (e.g., existing entries, memorized entries, accrual balances).
Keep in mind that it is easiest to select a group of users with common time periods and sheet
configurations. If you select users who are assigned to different time periods, you will see an
entry screen that spans both periods. The columns and column names shown on crew-based entry screens
are based on the sheet assigned to the timekeeper - not the individual users. Crew-based entry
is only supported for grid-based hours entry. Line item and allocation entry are not supported
at this time.
From the search results, you also have the option to submit several
timesheets, expense sheets or custom entry sheets for approval at once by selecting the
appropriate users and choosing one of the Submit options from the hover menu in the upper left
corner of the search area. If any of the selected users' sheets are not eligible to be submitted
(e.g., the user is not assigned to an approval plan or the sheet is not in an open state), you
will receive a message in red text indicating which sheets could not be submitted.
To modify a single user's timesheet, simply click the timesheet period under
the Timesheet column. This will prompt a pop-up window displaying that
user's timesheet for that period. Here you can make the appropriate time
entry modifications. For more information on managing timesheets, please
see the Time Entry section of this manual. Having the Timekeeper role
allows you to view the timesheet from a Timekeeper's View, as well as
from the User's View. Timekeepers can toggle between the views by
clicking the User View button and Timekeeper View button. The user will
not see buttons that are available to Timekeepers only. Similarly, from
the main Timekeeping page, you can choose to manage a user's expense
sheet and custom entry sheet by clicking the links for the period.